

Field Guide

5 Checks Before You Load a Quarry Hole

5 min read

The hole your driller left isn't always the hole your crew loads.

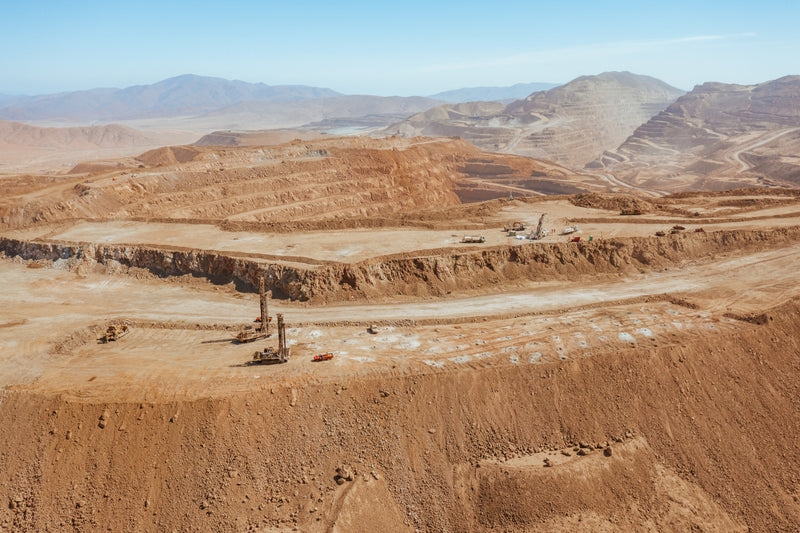
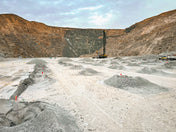
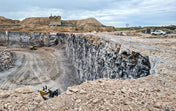
3D quarry bench: drilled holes with driller's flags on the cuttings piles and a cutaway of one open hole

From the collar, one hole looks like the next. A drilled hole can sit open for days before it's loaded. An open hole doesn't stay a good hole.

These five checks go in the order you meet them at the hole, and the first one costs nothing. Everything here is sized for quarry and construction holes, 1.5 to 6.5 in (38 to 165 mm).
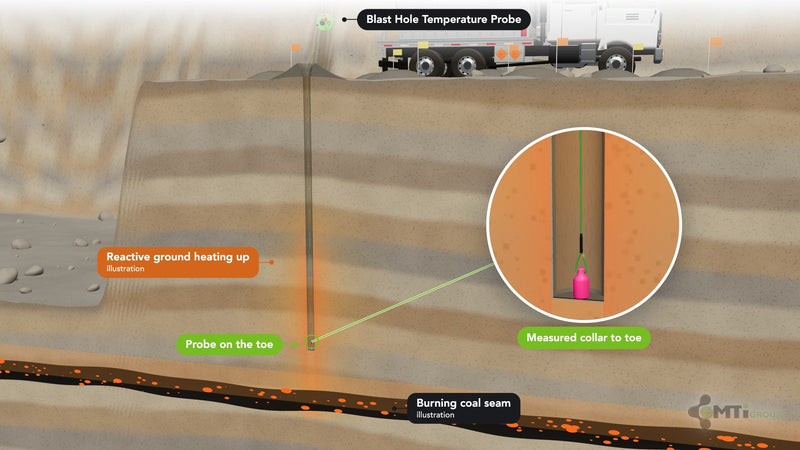
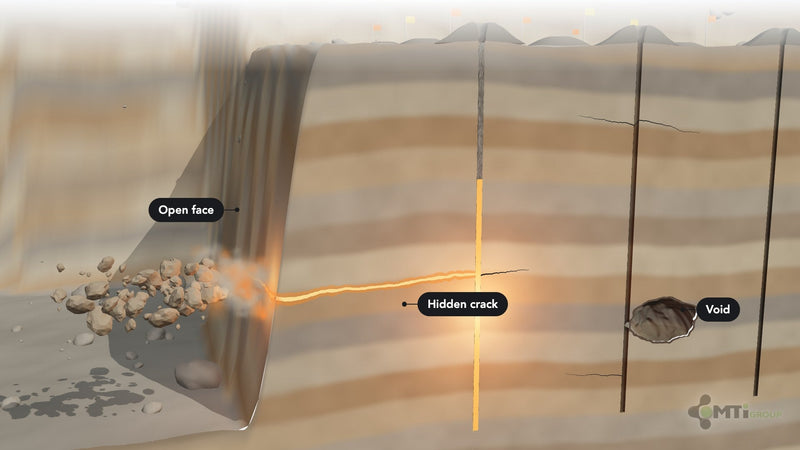
Under a minute: the five checks, in the order you meet them at the hole.

Check 1. Read the driller's flag

What goes wrong. The driller felt the ground and you didn't. Soft spots, cracks, voids and bad holes get written on a flag or a wood stake and left near the hole. If nobody reads it, the hole may seem completely normal during loading.

How to check. Read every flag before anything goes down the hole. A note like "crack at 30 ft (9 m)" or "void from 18 to 20 ft (5.5 to 6 m)" tells you where the trouble is. A hole with no flag isn't always a clean hole. The driller may never have felt it, or didn't mark it.

What to use. Survey Flags get written on with a marker and blown up with the rock. Reusable Pintags take a dry-erase marker and get used again.

Check 2. Look at the collar

What goes wrong. Every drilled hole has a pile of cuttings around it. Equipment working near that pile pushes cuttings back down the hole, shortening it by 2 to 5 ft (0.6 to 1.5 m). A truck driving over an unprotected hole can collapse the upper collar.

How to check. Walk the pattern before the powder truck rolls in. A cone that's been pushed down, a pile that's been driven through, or a collar that's broken away marks a hole to measure again.

What to use. The COLLARCONE™ Hole Saver is the purpose-built tool: small end in the hole, large end out, walk to the next hole. For holes under about 6.5 in (165 mm), the cone is the standard cap. The Hole Protection field guide has more on cones and bags at the collar.

Check 3. Measure the depth

What goes wrong. The measured depth, not the design depth, is what should dictate the load. Overload wastes powder and adds vibration and flyrock risk. Underload leaves poor fragmentation and hard digging.

How to check. Measure every hole. Stand at the collar and lower the weight into the hole. Feel for the tap when the weight hits bottom. Pull the line snug and read the mark at the collar. A lot of sites write the measured depth on a stake or flag at the hole, where the loading crew will see it.

What to use. The Depth Gauge is a fiberglass measuring tape with a lead weight on the end. When ordered with a weight, MTi removes the factory connector and installs our own, which lasts much longer, and no part of that connector will snag a downline. Running a gauge on every hole, every shift? MiTiMEASURE is the step up. The stainless core doesn't stretch, so your readings are always right.

Check 4. Find the water

What goes wrong. Water doesn't just get in the way. It goes after the explosive itself. ANFO is water-soluble. Load it wet and you get misfires or a low-order shot. A heavy rain can fill open holes with water and switch a shot off ANFO and onto emulsion.

How to check. You can't manage water you don't know about. A depth gauge tells you the actual depth, and lowered gently down the center of the hole it can show where the water sits. Water is also easier to feel if you're using an emulsion weight. Note which holes are holding water, and by using a mirror or light which have water seeping in, because the answer may be different for each hole.

What to use. Measure first. Then pick your answer. The Wet Holes field guide walks through three situations and three answers.

Check 5. Look down the holes you don't trust

What goes wrong. Cracks are linear breaks in the rock. Voids are cavities, empty space inside the geology. Both can change blast outcomes dramatically, and both do it by giving explosive gas somewhere to go other than the rock you meant to break. Load into a big void, and it can swallow a lot of product.

How to check. Start with the holes the driller flagged and the holes with water coming in. The right tool is a borehole camera. Lower it down and watch for cracks crossing the hole, open voids, and water entry points, which often indicate cracks, or seams. No camera on site? A lot of crews look with a light or a mirror, or run a tape down the hole and try to feel for or see the break. Those catch the big ones. The camera is the only one that shows you the crack.

What to use. A lot of operations still use sewer cameras because they're cheap. They work, but they wear out fast in the abrasive, gritty conditions inside a blasthole, which is why MTi's Borehole Camera is purpose-built for the job. Found a void? The strategy is to plug above it, so explosive doesn't spill in and inflate the local powder factor. ROCKRIVETS block off a void in a small hole. The Cracks and Voids field guide covers the rest.

The short version

Read the flag. Look at the collar. Measure the depth. Find the water. Look down the ones you don't trust.

Not sure which tape or cone fits your holes? Call us at 606-663-4069.

From the bench

Get the next field guide before you need it.

We write up what we learn from benches like yours — storm protocols, wet holes, lost energy, fragmentation fixes. Two to four emails a month, and you can unsubscribe in one click.

Or browse the Depth Gauge