

Blast Optimization: A Field Guide to Better Results on Every Shot
You spend hours planning a pattern, loading holes, and wiring up the shot. Then it fires — and the result doesn't match the effort you put in.
Oversized rock on the muck pile. Fly rock landing where it shouldn't. Fumes drifting. Or the crusher choking on material that should've broken better.
Here's the thing: most of these problems don't come from bad explosives or bad drillers. They come from small details in the blast design that add up. And the good news is, most of them are fixable without spending more money or overhauling your entire operation.
This guide covers the fundamentals of blast optimization — the practical stuff that actually makes a difference on the bench. Whether you're running a quarry, an open pit mine, or a construction blast, the principles are the same.
What Blast Optimization Actually Means
Blast optimization isn't some corporate buzzword. It's just getting the most out of every shot — better fragmentation, less waste, fewer problems.
In practice, it means looking at your bench, drill pattern, explosive selection, timing, stemming, and confinement as one connected system instead of separate tasks. When one part is off, it affects everything downstream.
A blast that fragments well means faster loading, lower crusher wear, no secondary blasting, and fewer delays. A blast that doesn't fragment well costs money at every stage after the shot.
So, when we talk about optimization, we're talking about finding the weak links in your current setup and fixing them — one at a time if needed.
Start with Your Bench
Everything in rock blasting starts with your bench. What does it look like? Did the overburden get completely removed, or is there a lot of fill left on the bench? Too much fill can make it difficult to drill your holes to depth, which causes hard spots in the bottom of the muck pile, and an uneven bench on the next shot. Are the boundaries of the bench clear? If not, drilling too close to the solid edge can result in a blowout causing excessive fly rock. If holes are drilled too far from the solid edge, the result can be lots of oversize. In short, be sure the bench looks clean and the boundaries are clear.

Check Your Drill Pattern
Measure the drill pattern. If your holes are in the wrong spots or drilled to the wrong depth, no amount of explosives or fancy accessories will fix it.
Burden and spacing are the foundation. Too tight and you waste explosives. Too wide and you get poor fragmentation with oversized material left sitting on the pile.
A common rule of thumb: burden is roughly 25–40 times the blast hole diameter, and spacing is typically 1.0–1.3 times the burden. But these numbers change based on rock type, bench height, and what the crusher can handle.
Subdrill matters more than people think. Too little and you get a rough floor with toe problems. Too much and you're drilling into the next bench for no reason.
Hole deviation is the silent killer of good blast results. A hole that drifts 2-3 degrees doesn't sound like much, but over a 15m (49ft) bench, that's .76 m (2.5 ft) off target at the toe. Multiply that across a full pattern and your burden varies wildly from hole to hole.
If you're seeing inconsistent results shot to shot and the explosive loading is the same, you may consider checking your hole deviation, especially in smaller diameter holes.
Get Your Explosive Column Right
Once the holes are drilled, the explosive column is where most of the energy goes. Getting it right means matching the explosive to the rock and making sure the energy goes where you need it.
Explosive selection depends on rock hardness, water conditions, and hole diameter. Harder rock needs higher energy products. Wet holes need water-resistant emulsions, not straight ANFO.
Deck charging or using gassed emulsion is worth considering if you have varying rock conditions down the hole. Instead of a single continuous column, you can split the charge into sections separated by inert material or varying density explosives. This lets you put more energy where the rock is harder and less where it's softer — or skip a section entirely if there's a void or weak zone.
When you load with decks, the separator between explosive decks needs to actually hold. If it collapses or shifts before the shot fires, your deck lengths change and the energy distribution is off. BLASTBAGS™ stemming plugs are designed to stay in place inside the hole and create a reliable seal between decks. They hold their position under the weight of stemming above and the pressure below, so your deck lengths stay where you set them.
Air decking is another technique that can stretch your explosives further without losing fragmentation quality. By placing a sealed air gap above the explosive column, the detonation gases expand into the air space and apply pressure over a larger area of the borehole wall.

The key to a consistent air deck is the plug that separates the air gap from the stemming above it. If that plug fails or moves, the stemming falls into the air space and you lose the effect. BLASTBAGS™ work well here because they create a reliable seal that holds the stemming in place while maintaining the air gap below.
Related reading: What is Air Decking in Blasting? — a deeper look at how air decks work and when to use them.
Stemming: The Most Overlooked Part of the Blast
If there's one area where most operations leave performance on the table, it's stemming.
Stemming is the inert material packed on top of the explosive column. Its job is simple: keep the explosive gases contained in the hole long enough to break rock, instead of venting out the top as noise, air blast, and fly rock.
Poor stemming leads to energy loss. When gases escape early, the explosive energy that should be breaking rock at the toe is instead blowing out the collar. You get worse fragmentation, more fly rock risk, and louder blasts — none of which help your operation.
Stemming material matters. Angular crushed rock (10–20mm / 0.4–0.8in) locks together and creates better confinement than round river gravel or drill cuttings. Drill cuttings can be a good option — just be aware of their size and consistency. Too fine and they offer poor confinement compared to proper stemming aggregate.
Stemming length is usually 0.7–1.0 times the burden. Too short and you lose confinement. Too long and you reduce the explosive column, which means less energy at the toe where you need it most. Finding the right balance for your specific rock and bench geometry takes some testing, but the payoff is worth it.
Here's where a lot of shots go wrong: even with the right material and the right length, stemming can settle, shift, or get contaminated with water and fines during loading. When that happens, confinement drops and so does performance.
Stemming plugs can help lock stemming in place. They sit at the base of the stemming column and create a barrier between the explosive gases below and the stemming material above. This keeps the stemming from being pushed up or contaminated before it can do its job.
Related reading: How to Diagnose Common Blast Issues — includes a section on recognizing stemming-related problems.

Timing and Initiation: Where Precision Pays Off
You can have a perfectly drilled pattern with the right explosives and proper stemming, but if the timing is off, the blast won't perform well.
Initiation sequence determines the order holes fire and the delay between them. This controls how rock moves, where relief is created, and how well the blast fragments.
Too short a delay between rows and the back rows don't have anywhere to move — they just push against the front rows, and you get tight, poorly fragmented muck piles. Too long a delay and holes fire independently instead of working together, which creates irregular breakage and potential cutoffs.
Electronic detonators give you millisecond-level control over timing. That precision lets you fine-tune the sequence to your specific rock and geometry. If you're still using non-el detonators with ±10% scatter, switching to electronic initiation is one of the biggest single improvements you can make to blast results.
Timing between holes in a row affects fragmentation. Timing between rows affects movement and muck pile shape. They need to work together. Some operations run 3–8ms per meter (1–2.5ms per foot) of burden between rows, but the right number depends on rock type, desired movement, and crusher requirements.
If you're getting good fragmentation, but the muck pile is too tight or spread too wide, timing adjustments are usually the fix — not more explosive.
Fly Rock and Blasting Safety
No discussion of blast optimization is complete without talking about blasting safety — specifically, fly rock control.
Fly rock is the number one safety hazard in surface blasting. And most fly rock incidents trace back to one of a few causes: insufficient stemming, undetected voids or weak zones in the face, cratering from overloaded collars, or face blow out from inadequate burden.
Here's the practical side: you can reduce fly rock risk by controlling the things within your power:
• Verify burden at every hole. Measure it, don't assume it. Especially on the front row where the face profile varies.
• Stem properly. Right material, right length, properly placed. This alone eliminates a large percentage of collar fly rock.
• Watch for voids and soft zones. If a hole takes explosives faster than expected or the drill drops suddenly, there's likely a void. Mark it, adjust the loading, or use a plug to seal it off before stemming.
• Don't overload collar zones. If explosive is too close to the collar, that's a direct fly rock path. Leave adequate stemming length.
• Use face profiling where available. Drone surveys or laser profiling give you actual burden measurements instead of guesses based on the designed pattern.
BLASTBAGS™ can help seal voids in the blast hole while loading or stemming. When a BLASTBAG™ is placed at a void or cavity, it creates a barrier that stops material from falling through. This lets you maintain a proper explosive column, or stemming length above the plug, which directly affects fly rock control.
Related reading: How to Prevent Fly Rock in Surface Blasting — a full guide to fly rock causes and prevention strategies.
Measuring and Improving Your Results
Optimization isn't a one-time thing. It's a process of measuring what you're getting, comparing it to what you want, and adjusting.
Fragmentation analysis is the most direct measure of blast performance. Whether you use photo analysis software or just a trained eye on the muck pile, tracking fragmentation over time tells you whether changes are working.
Muck pile shape and movement matters for loading efficiency. A well-shaped pile loads faster and more consistently. If your equipment operator is constantly repositioning or dealing with tight, undiggable material, the blast needs adjustment.
Vibration and air blast monitoring keep you within compliance limits and help you identify shots that are underperforming. Higher-than-expected air blast usually points to poor stemming confinement. Higher-than-expected vibration at a specific frequency might indicate timing issues.
Drilling data from modern drill rigs — if you have it — gives you rock hardness, void locations, and hole deviation before you even start loading. Using this data to adjust blast designs hole-by-hole is where the industry is heading, and the operations doing it are seeing significant improvements in consistency.
Keep records. Log your blast designs, timing, results, and any problems. Over 10–20 shots, patterns emerge that tell you exactly where to focus your optimization efforts.
Post-blast fragmentation — consistent breakage across the muck pile is the goal of every optimized shot.
Where to Start
If you're looking at your operation and wondering where to start optimizing, here's a practical order:
1. Check your stemming first. It's the easiest thing to fix and often has the biggest impact. Make sure you're using the right material, the right length, and that it's staying in place.
2. Verify your drill pattern. Measure actual burden and spacing, not just what's on the design. Check hole deviation if you can.
3. Review your timing. If you're using non-el detonators, consider whether electronic initiation would give you the precision you need.
4. Look at your explosive distribution. Are you putting energy where the rock needs it, or just running the same column charge in every hole regardless of conditions?
5. Start measuring. You can't optimize what you don't measure. Even informal fragmentation tracking helps.
None of this requires a massive budget or a complete overhaul. Most operations can improve results by adjusting one or two things at a time and measuring the difference.
Tools That Can Help
MTi Group carries a full range of blasting accessories and tools designed for field use. A few products that tie directly into the optimization areas covered above:
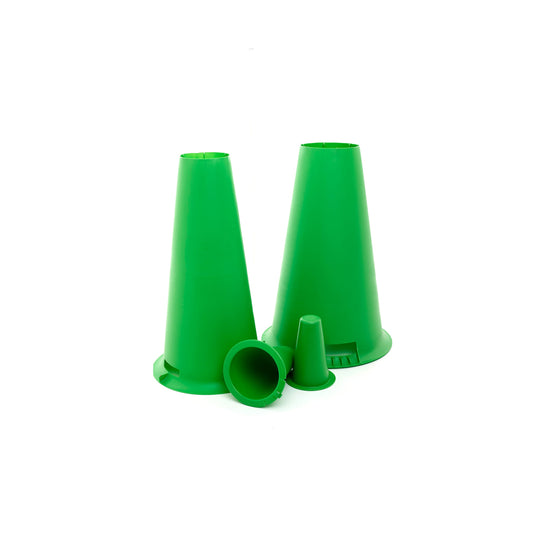
• BLASTBAGS™ — Stemming retention plugs for air decking, deck charging, and sealing voids. Available in sizes from 76mm (3in) to 311mm (12 ¼ in) to fit most blast hole diameters.
• Stemming Plugs — Purpose-built plugs to lock stemming in place and improve confinement.
• Depth Gauges — Verify hole depth and charge placement before loading.
• Safety Equipment — Signage, retrieval tools, and accessories for compliant blast operations.
If you want to see how these products fit into real operations, check out the MTi Group case studies — including results from mines that reduced fly rock, improved fragmentation, and cut ore loss.
Got questions about optimizing your blasts? Contact the MTi Group team — we work with mines and quarries across the US, Australia, and 40+ countries worldwide.
-
Best Seller
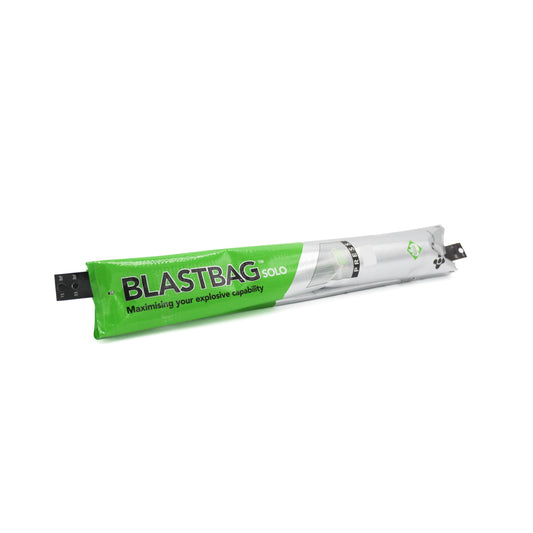
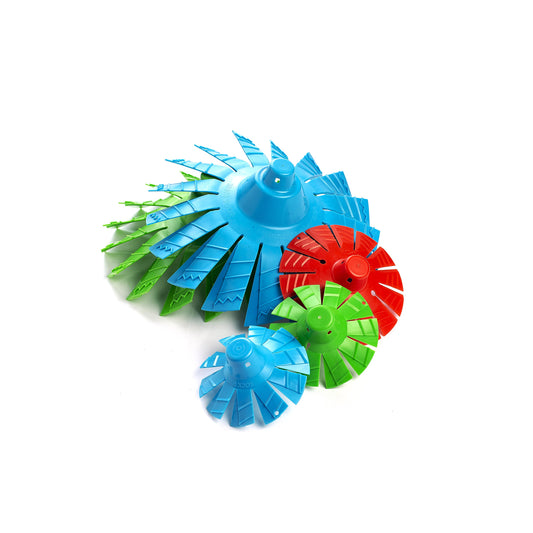
BLASTBAG™ SOLO
Most used BLASTBAG™ in the world with dual speed inflation.
-
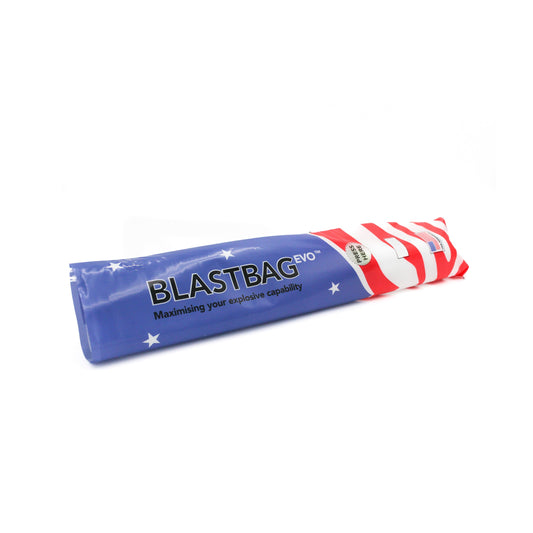
BLASTBAG™ EVO
BLASTBAG™ with non-flammable aerosol propellant.
-
Best Seller
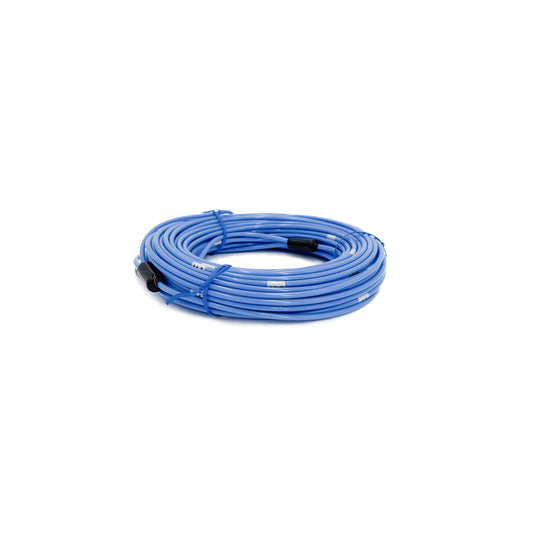
Depth Gauge
Durable tape measure for blast hole depth.
-
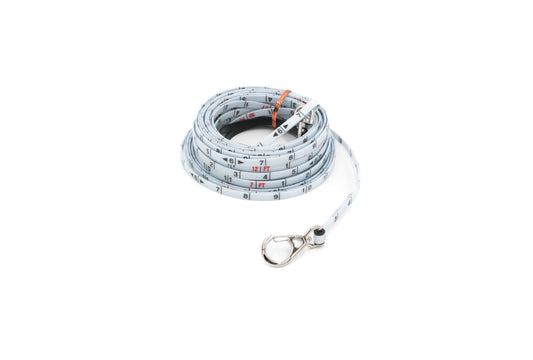
MITIMEASURE Polyline
Precision measuring tool for any mining conditions.
-
ROCKRIVETS
Friction-based retention spider plug
-
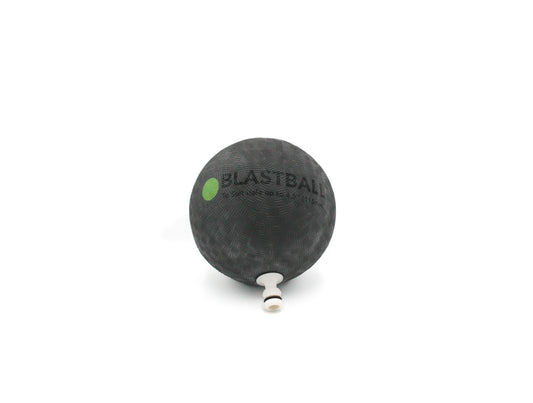
BLASTBALL™
Air-operated, robust plugging device for optimal underground mining.
-
Best Seller
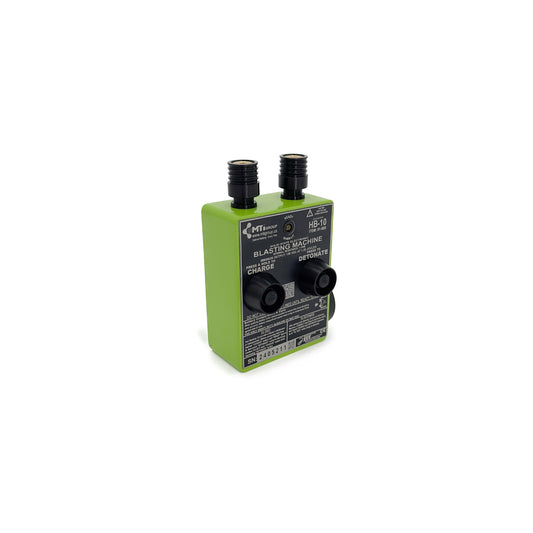
HB-10 Electric Initiator
Lightweight electronic capacitor discharge blasting machine.
HB-10 Electric Initiator
ElectricLightweight electronic capacitor discharge blasting machine.
Vendor:MTi USA -
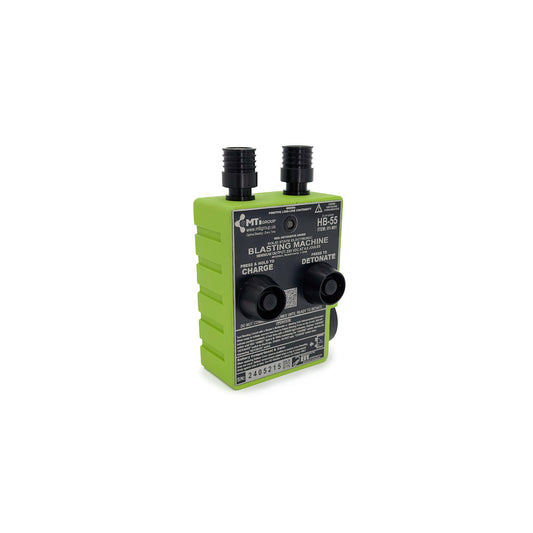
HB-55 Electric Blasting Machine
Robust blasting machine with circuit continuity indicator.
HB-55 Electric Blasting Machine
ElectricRobust blasting machine with circuit continuity indicator.
Vendor:MTi USA -
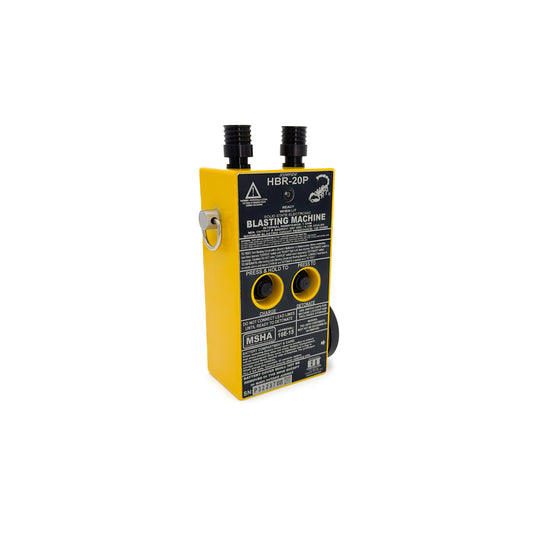
HBR-20P Blasting Machine - MSHA Approved
MSHA permissible blasting machine for safe mining operations.
MSHA permissible blasting machine for safe mining operations.
Vendor:MTi USA -
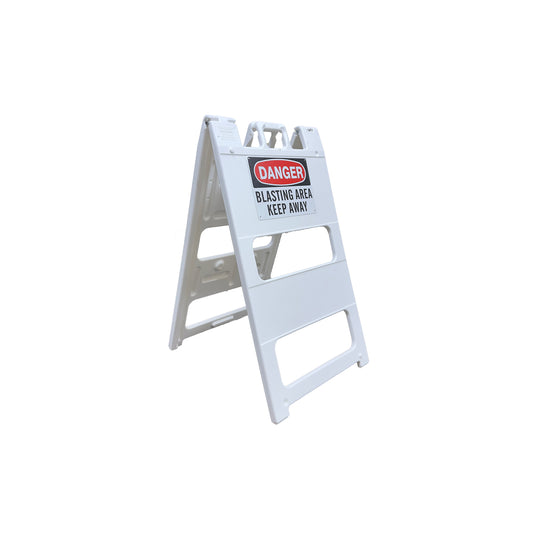
Barricades
Easy to use, portable, folding barricade
-
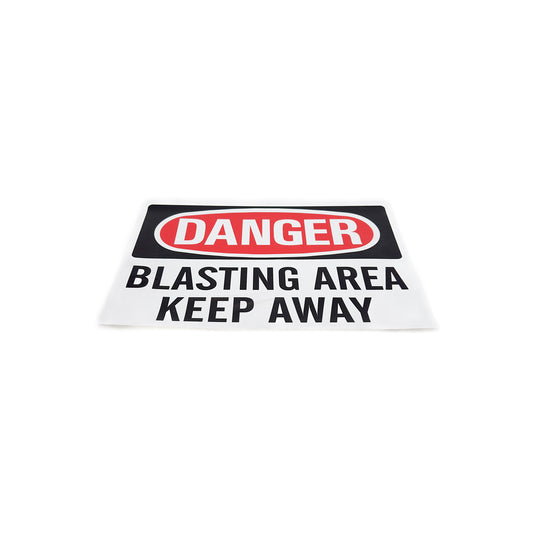
Danger Signs
Danger signs for bench and storage safety.
-
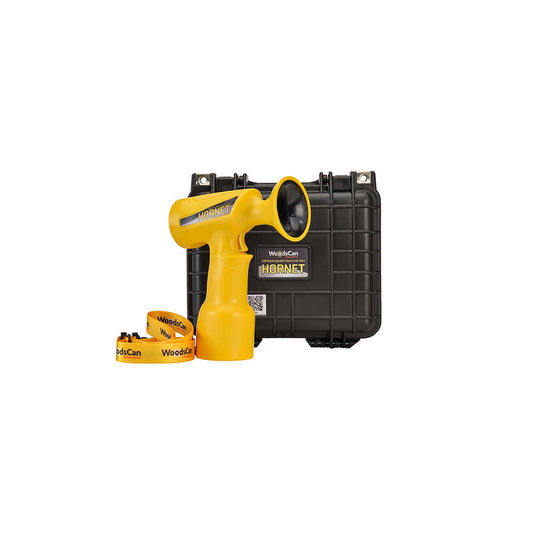
WoodsCan Hornet Rechargeable Electric Air Horn
Rechargeable 121-decibel air horn kit with carrying case.
Rechargeable 121-decibel air horn kit with carrying case.
Vendor:MTi USA -
Collarcone Hole Saver
Lightweight cone that protects drill holes.


